Introduction
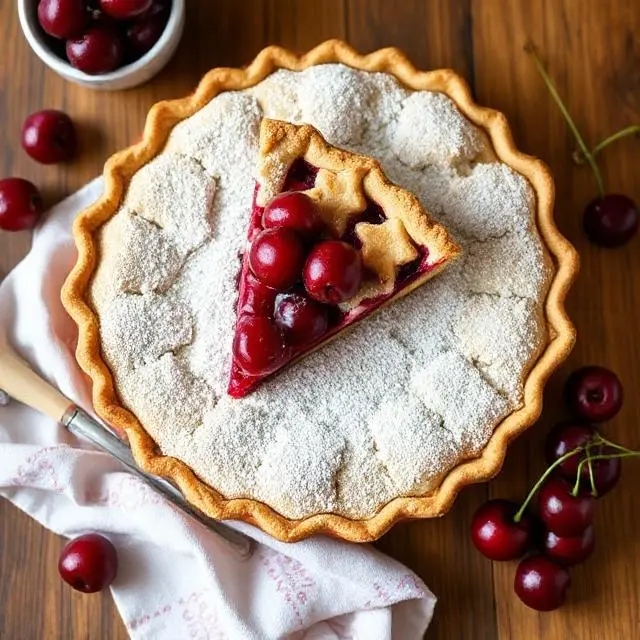
There’s nothing quite as comforting and delicious as a homemade cherry pie. Whether you’re a baking novice or an experienced home cook, this step-by-step guide will walk you through the process of creating the perfect pie from scratch. From selecting the freshest cherries to mastering the art of flaky pie crust, this guide covers everything you need to know. By the end of this article, you’ll have a beautiful, golden-brown cherry pie ready to impress your family and friends. Let’s get started!
Gathering Your Ingredients and Tools for Cherry Pie
Before you begin, it’s essential to have all the necessary ingredients and tools on hand. This section will ensure you’re fully prepared to make your cherry pie without any last-minute surprises.
Essential Ingredients for Cherry Pie Filling
To make the perfect cherry pie filling, you’ll need fresh or frozen cherries, sugar, cornstarch (or flour for thickening), lemon juice, and a pinch of salt. Fresh cherries are ideal, but frozen cherries work well too—just make sure to thaw and drain them properly. The lemon juice adds a bright, tangy flavor that balances the sweetness of the cherries.
Ingredients for the Perfect Cherry Pie Crust
A flaky, buttery pie crust is the foundation of any great pie. You’ll need all-purpose flour, cold unsalted butter, a pinch of salt, and ice water. Some bakers also add a teaspoon of sugar for a hint of sweetness. The key to a perfect crust is keeping the ingredients cold and handling the dough as little as possible.
Tools You’ll Need for Baking
Having the right tools makes the process much easier. You’ll need a rolling pin, a pie dish (preferably glass or ceramic), a pastry cutter or food processor, a mixing bowl, and a sharp knife or pastry wheel. A silicone baking mat or parchment paper can also help when rolling out the dough.
Optional Additions for Flavor Enhancement
If you want to elevate your cherry pie, consider adding almond extract, vanilla extract, or a sprinkle of cinnamon to the filling. These ingredients complement the cherries and add depth to the flavor profile.
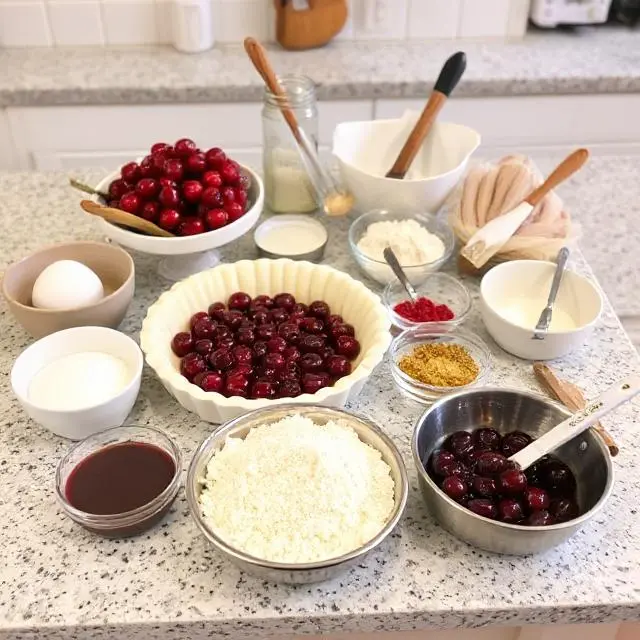
Assorted ingredients and tools for making cherry pie on a kitchen counter
Preparing the Cherry Pie Crust
The pie crust is the star of the show, and getting it right is crucial. This section will guide you through making and rolling out the perfect pie crust.
Mixing the Dough
Start by combining the flour and salt in a large bowl. Cut the cold butter into small cubes and add it to the flour. Use a pastry cutter or your fingers to work the butter into the flour until the mixture resembles coarse crumbs. Gradually add ice water, one tablespoon at a time, until the dough comes together.
Rolling Out the Dough for Cherry Pie
Divide the dough into two equal portions. Lightly flour your work surface and rolling pin, then roll out one portion of the dough into a circle about 12 inches in diameter. Carefully transfer the dough to your pie dish, gently pressing it into the bottom and sides.
Creating a Lattice Top (Optional)
For a classic cherry pie look, create a lattice top. Roll out the second portion of dough and cut it into strips. Weave the strips over the filled pie, trimming and crimping the edges to seal.
Chilling the Dough
Once your crust is prepared, chill it in the refrigerator for at least 30 minutes. This step prevents the crust from shrinking during baking and ensures a flaky texture.
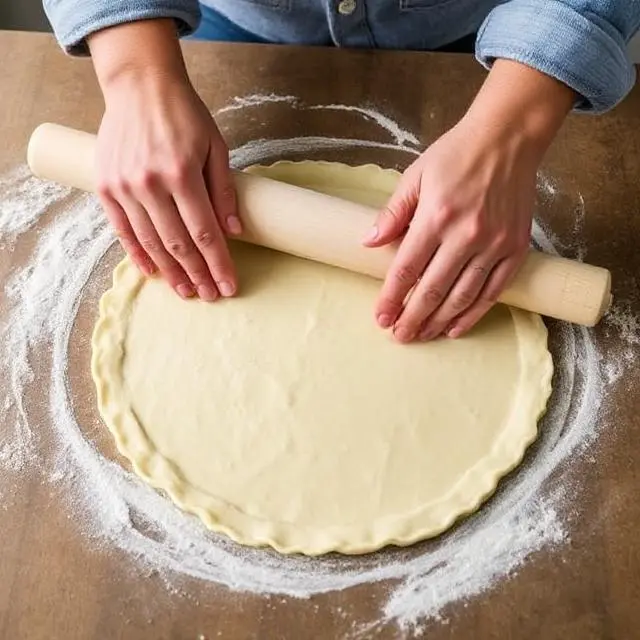
Hands rolling out pie dough on a floured surface
Making the Cherry Pie Filling
The filling is the heart of your cherry pie. This section will teach you how to prepare a flavorful and perfectly thickened cherry filling.
Preparing the Cherries for Cherry Pie
If using fresh cherries, wash, pit, and halve them. For frozen cherries, ensure they’re fully thawed and drained to avoid excess moisture. You’ll need about 4-5 cups of cherries for a standard 9-inch pie.
Combining the Filling Ingredients
In a large bowl, mix the cherries with sugar, cornstarch, lemon juice, and a pinch of salt. The sugar sweetens the filling, while the cornstarch acts as a thickening agent. Taste the mixture and adjust the sweetness or tartness as needed.
Cooking the Filling (Optional)
Some bakers prefer to cook the filling on the stovetop before adding it to the pie crust. This step helps thicken the filling and ensures a consistent texture. If you choose to do this, simmer the mixture for 5-7 minutes, then let it cool slightly before pouring it into the crust.
Adding Flavor Enhancers to Cherry Pie
For an extra layer of flavor, stir in a teaspoon of almond extract or vanilla extract. These ingredients pair beautifully with cherries and add a subtle richness to the filling.
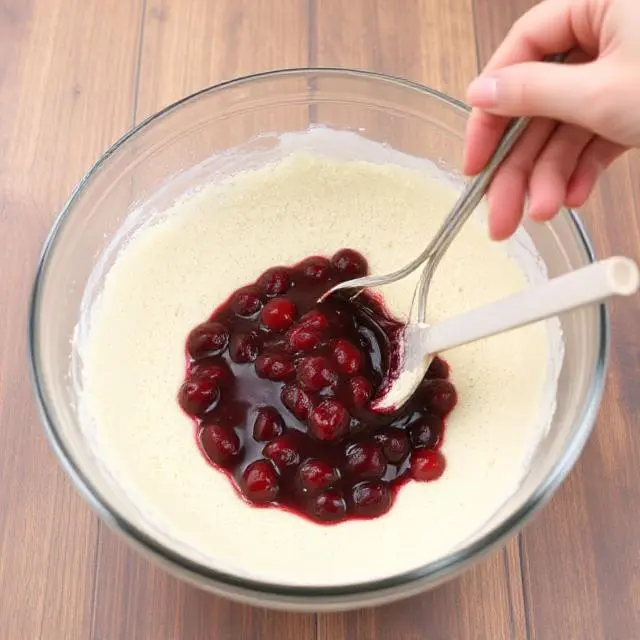
Mixing cherry pie filling in a bowl
Assembling and Baking the Pie
Now that your crust and filling are ready, it’s time to assemble and bake your cherry pie to golden perfection.
Filling the Pie Crust
Pour the prepared cherry filling into the chilled pie crust, spreading it evenly. If you’re using a lattice top, carefully weave the dough strips over the filling. Trim any excess dough and crimp the edges to seal.
Brushing with Egg Wash
For a shiny, golden crust, brush the top of the pie with an egg wash (a beaten egg mixed with a tablespoon of water or milk). This step adds a beautiful finish to your pie.
Baking the Pie
Preheat your oven to 375°F (190°C). Place the pie on the middle rack and bake for 45-55 minutes, or until the crust is golden brown and the filling is bubbling. If the edges of the crust brown too quickly, cover them with aluminum foil.
Cooling the Pie
Once baked, let the pie cool on a wire rack for at least 2 hours. This allows the filling to set and makes slicing easier.
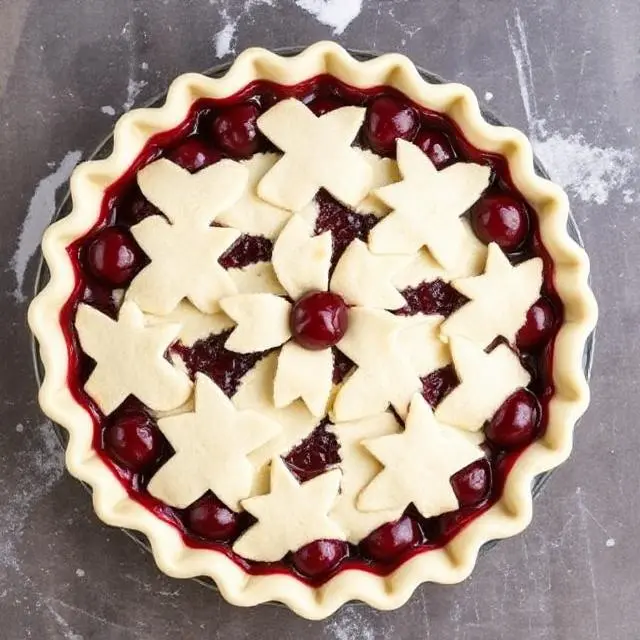
Assembled cherry pie ready for baking
Serving and Storing Your Cherry Pie
Your cherry pie is ready to be enjoyed! This section covers the best ways to serve and store your masterpiece.
Serving Suggestions
Serve your cherry pie warm or at room temperature. For an extra treat, pair it with a scoop of vanilla ice cream or a dollop of whipped cream. The contrast of warm pie and cold ice cream is irresistible.
Storing Leftovers
Store any leftover pie in an airtight container at room temperature for up to 2 days or in the refrigerator for up to 5 days. To maintain the crust’s texture, avoid covering the pie with plastic wrap directly.
Reheating Tips
If you prefer your pie warm, reheat individual slices in the oven at 350°F (175°C) for 10-15 minutes. Avoid using the microwave, as it can make the crust soggy.
Freezing for Later
Cherry pie freezes well. Wrap the cooled pie tightly in plastic wrap and aluminum foil, then freeze for up to 3 months. Thaw in the refrigerator overnight before reheating.
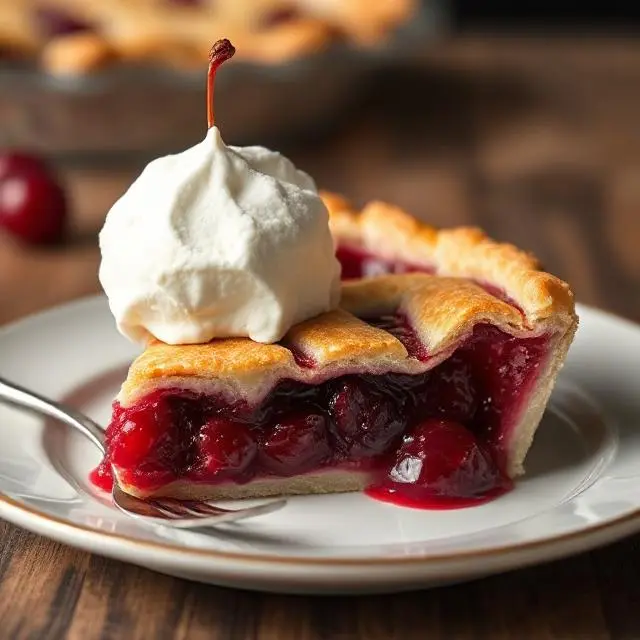
Slice of cherry pie with vanilla ice cream
Conclusion
Making a cherry pie from scratch may seem daunting at first, but with this step-by-step guide, you’ll find it’s a rewarding and enjoyable process. From preparing the flaky crust to baking the perfect filling, each step brings you closer to a delicious homemade dessert. Whether you’re baking for a special occasion or simply craving a sweet treat, this cherry pie recipe is sure to impress. So roll up your sleeves, gather your ingredients, and get ready to create a pie that’s as beautiful as it is delicious. Happy baking!
Advice
Making cherry pie from scratch is easier than you think, and the results are always delicious! Start by using fresh or frozen cherries for the filling, and make sure to combine them with sugar, cornstarch, and a bit of lemon juice to balance the sweetness and thicken the juice. If you’re new to pie-making, store-bought pie crusts can save time, or you can try your hand at a simple homemade crust using flour, butter, and water. Be sure to chill the dough before rolling it out to keep it tender. After assembling, brush the top crust with egg wash for a golden, glossy finish. Bake the pie until the crust is golden and the filling is bubbling, then let it cool before serving. Whether it’s for a holiday or just because, this step-by-step guide will help you make the perfect cherry pie!

